Cherimoya, also called the custard apple, is a tropical fruit tree that you can grow directly from its large black seeds. When you start with fresh seeds and keep them warm and moist, most will sprout within a few weeks and can grow into small trees that bear fruit in several years. This guide walks you through how to save cherimoya seeds, germinate them, and care for the seedlings in a home or garden setting.
Are cherimoya seeds safe to handle
Cherimoya seeds are not meant for eating. They contain neurotoxic compounds such as annonacin and cytotoxic acetogenins that can be harmful if swallowed in any significant amount. Studies using brine shrimp bioassays show that methanolic extracts of cherimoya seeds are extremely toxic, with a very low LC50 value, meaning only a tiny amount of the concentrated seed extract can cause death in test organisms.
Even though the whole fruit is normally safe to eat, keep the seeds out of the reach of children and pets. If someone accidentally swallows a seed, medical advice should be sought immediately, especially if more than one seed is taken. Always wash your hands after handling seeds and avoid chewing or crushing them during preparation.
Choosing the best cherimoya seeds
For the best chance of success, pick seeds from a ripe, healthy cherimoya fruit. The seeds should be firm, dark brown to black, and plump, not flat, cracked, or moldy. Separate the seeds from the white pulp by gently rubbing them under running water, then let them dry on a paper towel for a few hours.
Fresh seeds germinate more reliably than old or dried ones. Home gardeners who grow other tropical or subtropical fruits often see a strong drop in germination after a few months of storage, so if you are not planting right away, keep the seeds in a cool, dry place and use them within a month or two. Avoid any seeds that float in water, as they usually lack the internal structure needed to sprout.
Speeding up germination of cherimoya seeds
Cherimoya seeds are non dormant, which means they do not need scarification or cold treatment to wake up, but they do respond well to a short soak and warm conditions. A study that tracked germination at different temperatures found that cherimoya seeds reach their highest germination rate at about 30°C, with around 70% of seeds sprouting and an average emergence time of about 17 days.
To mimic this, you can soak the seeds in room‑temperature water for 12 to 24 hours before planting. This helps the seed coat absorb water and begin the metabolic changes that lead to sprouting. After soaking, place the seeds between damp paper towels in a plastic bag or small container, then keep them in a warm spot such as the top of a refrigerator or near a heat vent, checking every few days for tiny white roots.
Simple paper towel method
Place the soaked seeds on a folded paper towel that has been dampened and lightly squeezed. Cover the seeds with another damp paper towel, then slip the whole stack into a clear plastic bag or container and seal it loosely. Put the setup in a warm, dark place and check it every 2 to 3 days, rewetting the paper towel if it starts to dry out.
Once you see a small root emerging from the seed, it is time to move it to soil. Plant the germinated seed with the root pointing downward and just covered with soil, then keep the pot warm and moderately moist. This method greatly reduces the risk of rot while still giving the seeds the moisture and warmth they need.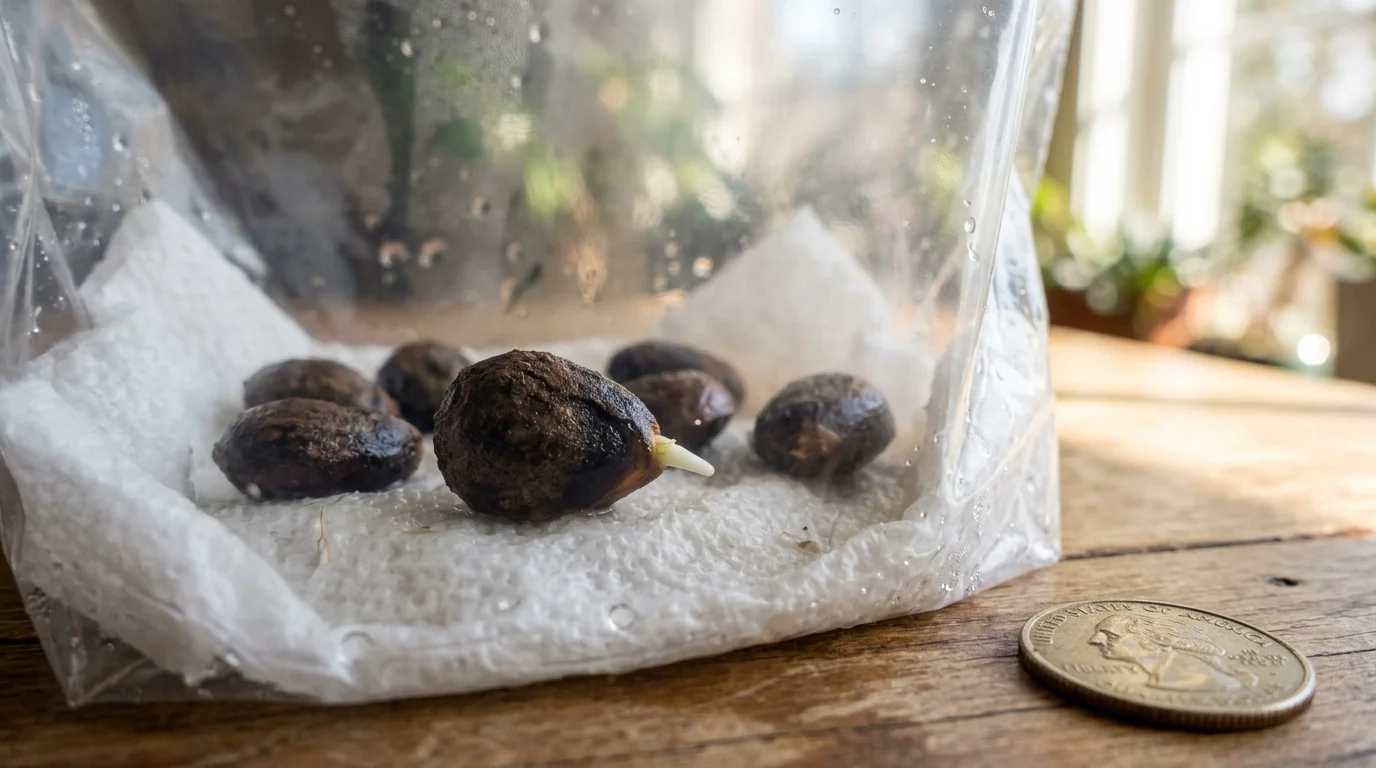
What soil and containers work best
Cherimoya seedlings need loose, well draining soil because soggy conditions quickly lead to root rot. A mix of one part potting soil and one part perlite or coarse sand provides good aeration and drainage while still holding enough moisture for young roots. Some growers also use peat mixed with sand, but any blend that feels light and crumbly usually works.
Use a relatively deep container, at least 10 to 15 centimeters tall, because cherimoya seedlings develop a long taproot. If the container is too shallow, the taproot can circle or bend, which can stunt the plant as it matures. Plant each seed in its own pot so you do not have to disturb the roots when thinning out extra seedlings.
Step by step guide to planting cherimoya seeds
Fill each pot with your well draining mix, leaving about 2 to 3 centimeters of space below the rim. Drop one seed into the center of each pot and cover it with about 2 to 3 centimeters of soil, pressing it down gently so the seed makes contact with the mix. Water the pot until water runs out the bottom, then let excess drain away.
Put the pots in a warm, bright spot, such as a south facing window or a greenhouse, but out of harsh midday sun while the seedlings are small. Keep the soil evenly moist but not soggy, which often means misting or small waterings every few days instead of soaking the pot. At ideal temperatures around 25 to 30°C, most cherimoya seeds will pop up within 2 to 4 weeks.
Aftercare and young cherimoya care
Once the seedlings push through the soil, they need steady light, consistent moisture, and good air circulation to grow strong. If the plants are indoors, place them where they receive bright, indirect light for several hours a day, or use a simple grow light if natural light is weak. Rotate the pots occasionally so stems do not bend toward one side.
Cherimoya seedlings are moderately drought sensitive at first, so the soil should feel slightly damp at all times but never waterlogged. Young plants also benefit from a light, balanced fertilizer every 4 to 6 weeks once they have a few true leaves. As the seedlings grow, you can move them to larger pots or prepare them for outdoor planting in a suitable climate.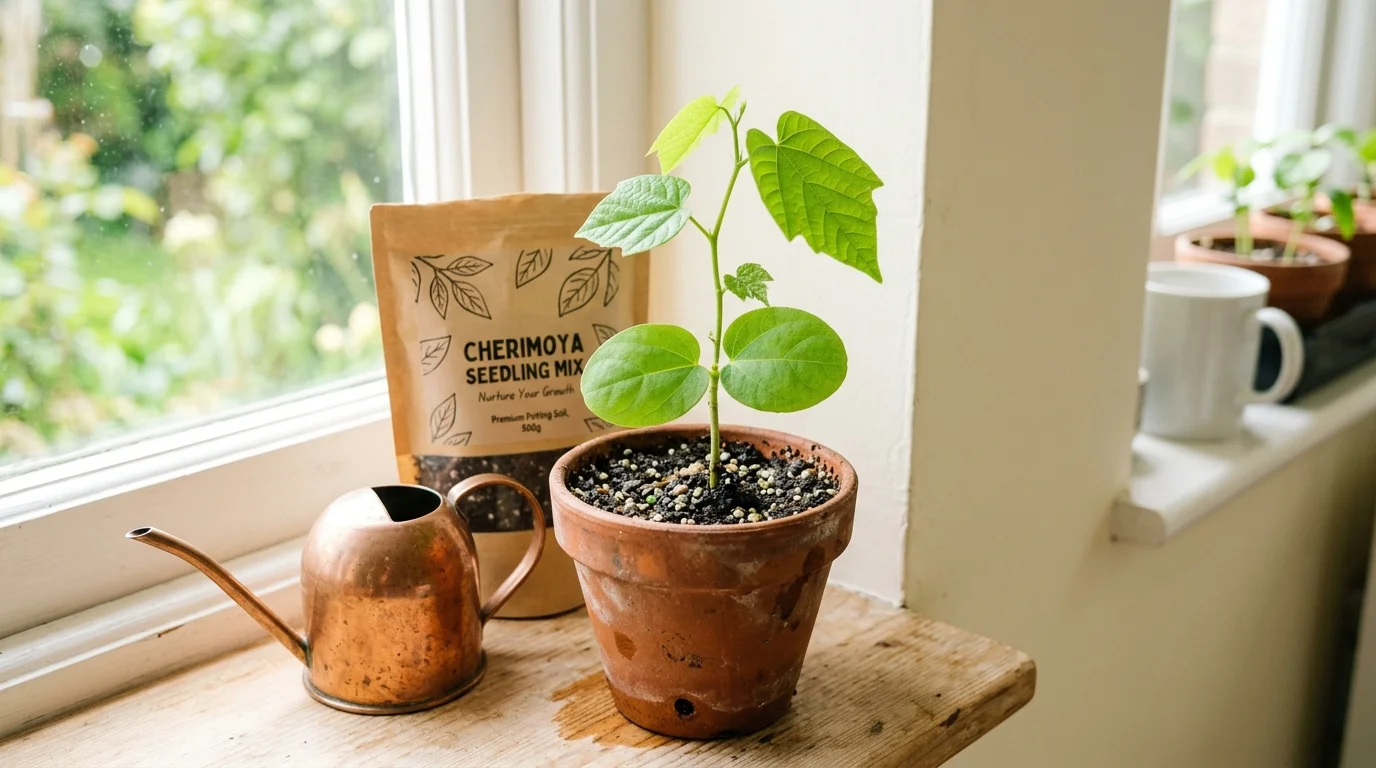
Temperature and climate needs for cherimoya trees
Cherimoyas are native to higher elevation subtropical zones in the Andes, and they grow best in mild, frost free climates. Mature trees can tolerate light cold, but young seedlings are much more sensitive and can be damaged by temperatures below about 0°C. For reliable fruiting, many growers recommend USDA hardiness zones 9 and 10, or similar microclimates with mild winters.
Where winters are cooler, you can grow cherimoya in containers and move the pots indoors or into a greenhouse during cold spells. In hot, dry regions, provide some shade in the first few years and extra water during peak heat so the young trees do not dry out. If you are growing other sun loving crops such as sunflowers, you can use similar strategies to protect young cherimoya seedlings from harsh sun.
Common mistakes that kill cherimoya seedlings
Overwatering and poor drainage are the top reasons why cherimoya seeds fail after they sprout. Standing water in the pot will encourage fungal rot and cause the stem to collapse at the base. Using a heavy garden soil or a pot without drainage holes makes this problem much worse.
Another frequent error is planting the seeds too deep or letting the soil dry out completely between waterings. Cherimoya seeds need a shallow, warm, moist layer to push through; if the soil crusts over or the pot bakes in strong sun, the tender shoot can die before it reaches the surface. Keeping the setup simple, with a light mix, a warm spot, and regular checks for moisture, will greatly increase your success rate.
Hidden risks and safety tips for home growers
Cherimoya seeds are simple to work with, but they should be treated as mildly toxic material rather than as food or craft items. The same compounds that make seed extracts toxic to laboratory test organisms can pose a risk to humans and animals if ingested in quantity. This is especially important in homes with children or pets who may be curious about the shiny black seeds.
Always keep unused seeds in a sealed container and clearly labeled as non edible. If you compost cherimoya waste, avoid using seed‑rich material in areas where animals might dig or eat it. Growing other plants from seed, such as chia seeds, can also teach you good seed‑handling habits that translate well to cherimoya.
Expert Insight Note
In nearly 20 years of working with tropical fruit nurseries, I have seen more cherimoya seedlings fail from over enthusiasm with watering than from cold or poor light. The key is to treat the seed like a human embryo dieting in a warm sauna: it needs warmth and moisture, but it cannot survive drowned in its own environment. Check the pot weight instead of the calendar; if the pot feels heavy, wait. If it feels light, water just enough to bring it back to a damp, not soggy, state.
When and how to transplant cherimoya seedlings
Once a cherimoya seedling reaches about 10 to 15 centimeters tall and has developed several true leaves, it is ready for transplanting if you want to move it to the garden or a larger pot. Choose a location with well draining soil and partial to full sun, depending on how hot your summers get. If you live in a hot dry area, morning sun with afternoon shade often suits young cherimoyas best.
Gently loosen the root ball before sliding it into the new pot or planting hole, making sure the top of the root ball sits level with the surrounding soil. Water the plant in well after planting, then maintain consistent moisture as the roots adjust. If you already grow other deep‑rooted crops such as alfalfa, you will recognize the need for deep, uncompacted soil that allows strong root systems to develop.
Long term care and fruiting expectations
Cherimoya trees are not fast growing in their early years; it usually takes 3 to 7 years from seed to first fruit, depending on climate, care, and whether the plant is grown in a container or in the ground. Regular watering, a light fertilizer, and protection from strong winds and frost will help the tree reach maturity faster.
Once the tree starts flowering, pollination can be a challenge in areas without natural pollinators, so some growers use hand pollination during the blooming period. In warmer regions, you can combine cherimoya with other heat loving plants, such as sunflowers, to create a diverse edible landscape that uses similar water and soil management practices.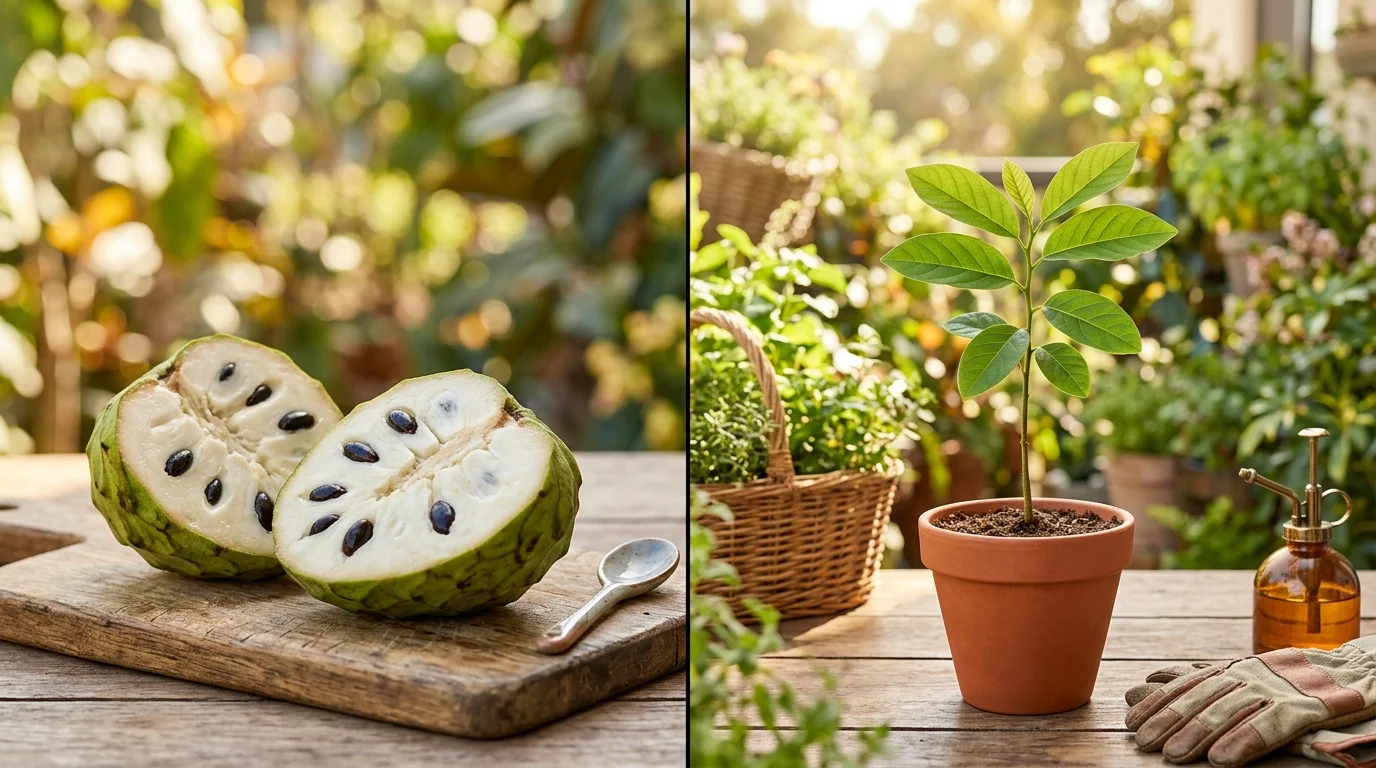
Can you eat cherimoya seeds and what to do if you swallow one
No, cherimoya seeds should not be eaten. They contain toxic compounds that can cause nausea, vomiting, dizziness, and in some cases more serious effects on the heart or nervous system. Even though a single swallowed seed is unlikely to poison a healthy adult, repeated or large‑quantity ingestion should be avoided.
If someone accidentally swallows a cherimoya seed, it is wise to contact a doctor or poison control center, especially if more than one seed is taken or if the person shows any symptoms. Professional medical guidance is always safer than relying on home advice, and organizations such as the World Health Organization provide public health frameworks that support poisoning prevention and treatment in everyday settings.
Sustainable practices and environmental benefits of growing cherimoya
Growing cherimoya can fit into a broader sustainable garden plan, especially if you combine it with other tree crops and under story plants. A single cherimoya tree can provide shade, reduce local temperatures, and support beneficial insects, just like many other fruit trees in a home orchard. Over time, well maintained trees can sequester carbon and improve soil structure through their root systems and leaf litter.
In areas with water shortages, using moisture‑efficient planting methods learned from growing arid plants such as cactus from seed can help you manage cherimoya water use more wisely. Mulching, drip irrigation, and careful site selection can all reduce the environmental cost of irrigating a new fruit tree while still keeping it healthy.